|
|
|
|
|
Turn a daylight photo of a house into a night shot (2/3)
In the previous part of this Photoshop tutorial we made the photo look dark as night. We will now continue by adding some light to one of the windows and placing a nice looking moon into the sky.
|
|
 |
|
|
|
|
|
|
|
|
|
|
 |
1.
|
|
|
Let's continue photoshopping the haunted house. Click here for the first part of the tutorial.
|
|
| |
2.
|
|
|
In the menu click Image and choose Flatten Image. We shall add some light to one of the windows. Choose the Brush Tool (B for a keyboard shortcut).
|
|
| |
3.
|
|
|
Click to set the foreground color ...
|
|
| |
4.
|
|
|
... and enter or copy/paste e8e5e5 in the # field then click OK.
|
|
| |
6.
|
|
|
Now use the mouse wheel while holding Alt key (Option in MacOS) to zoom in the window in photo (see picture).
|
|
| |
7.
|
|
|
Right-click the document, set Size to about 7 px (depending on the image you are using) and Hardness to 10% (see picture).
|
|
| |
8.
|
|
|
Now carefully start painting over glass of the window. Try not to paint over the rest of the window, just glass (see picture).
|
|
| |
9.
|
|
|
This is how it should look like. If you painted over the glass simply use the Eraser tool (E for a keyboard shortcut).
|
|
| |
10.
|
|
|
We will now add a bit of glow to the window light. Click to set the foreground color ...
|
|
| |
11.
|
|
|
... and enter or copy/paste ebead2 in the # field then click OK.
|
|
| |
12.
|
|
|
Right-click the document, set Size to about 7 px (depending on the image you are using) and Hardness to 0% (see picture).
|
|
| |
13.
|
|
|
Set the Opacity to about 25% (see picture).
|
|
| |
14.
|
|
|
Now click slowly and carefully around the window like I did.
|
|
| |
15.
|
|
|
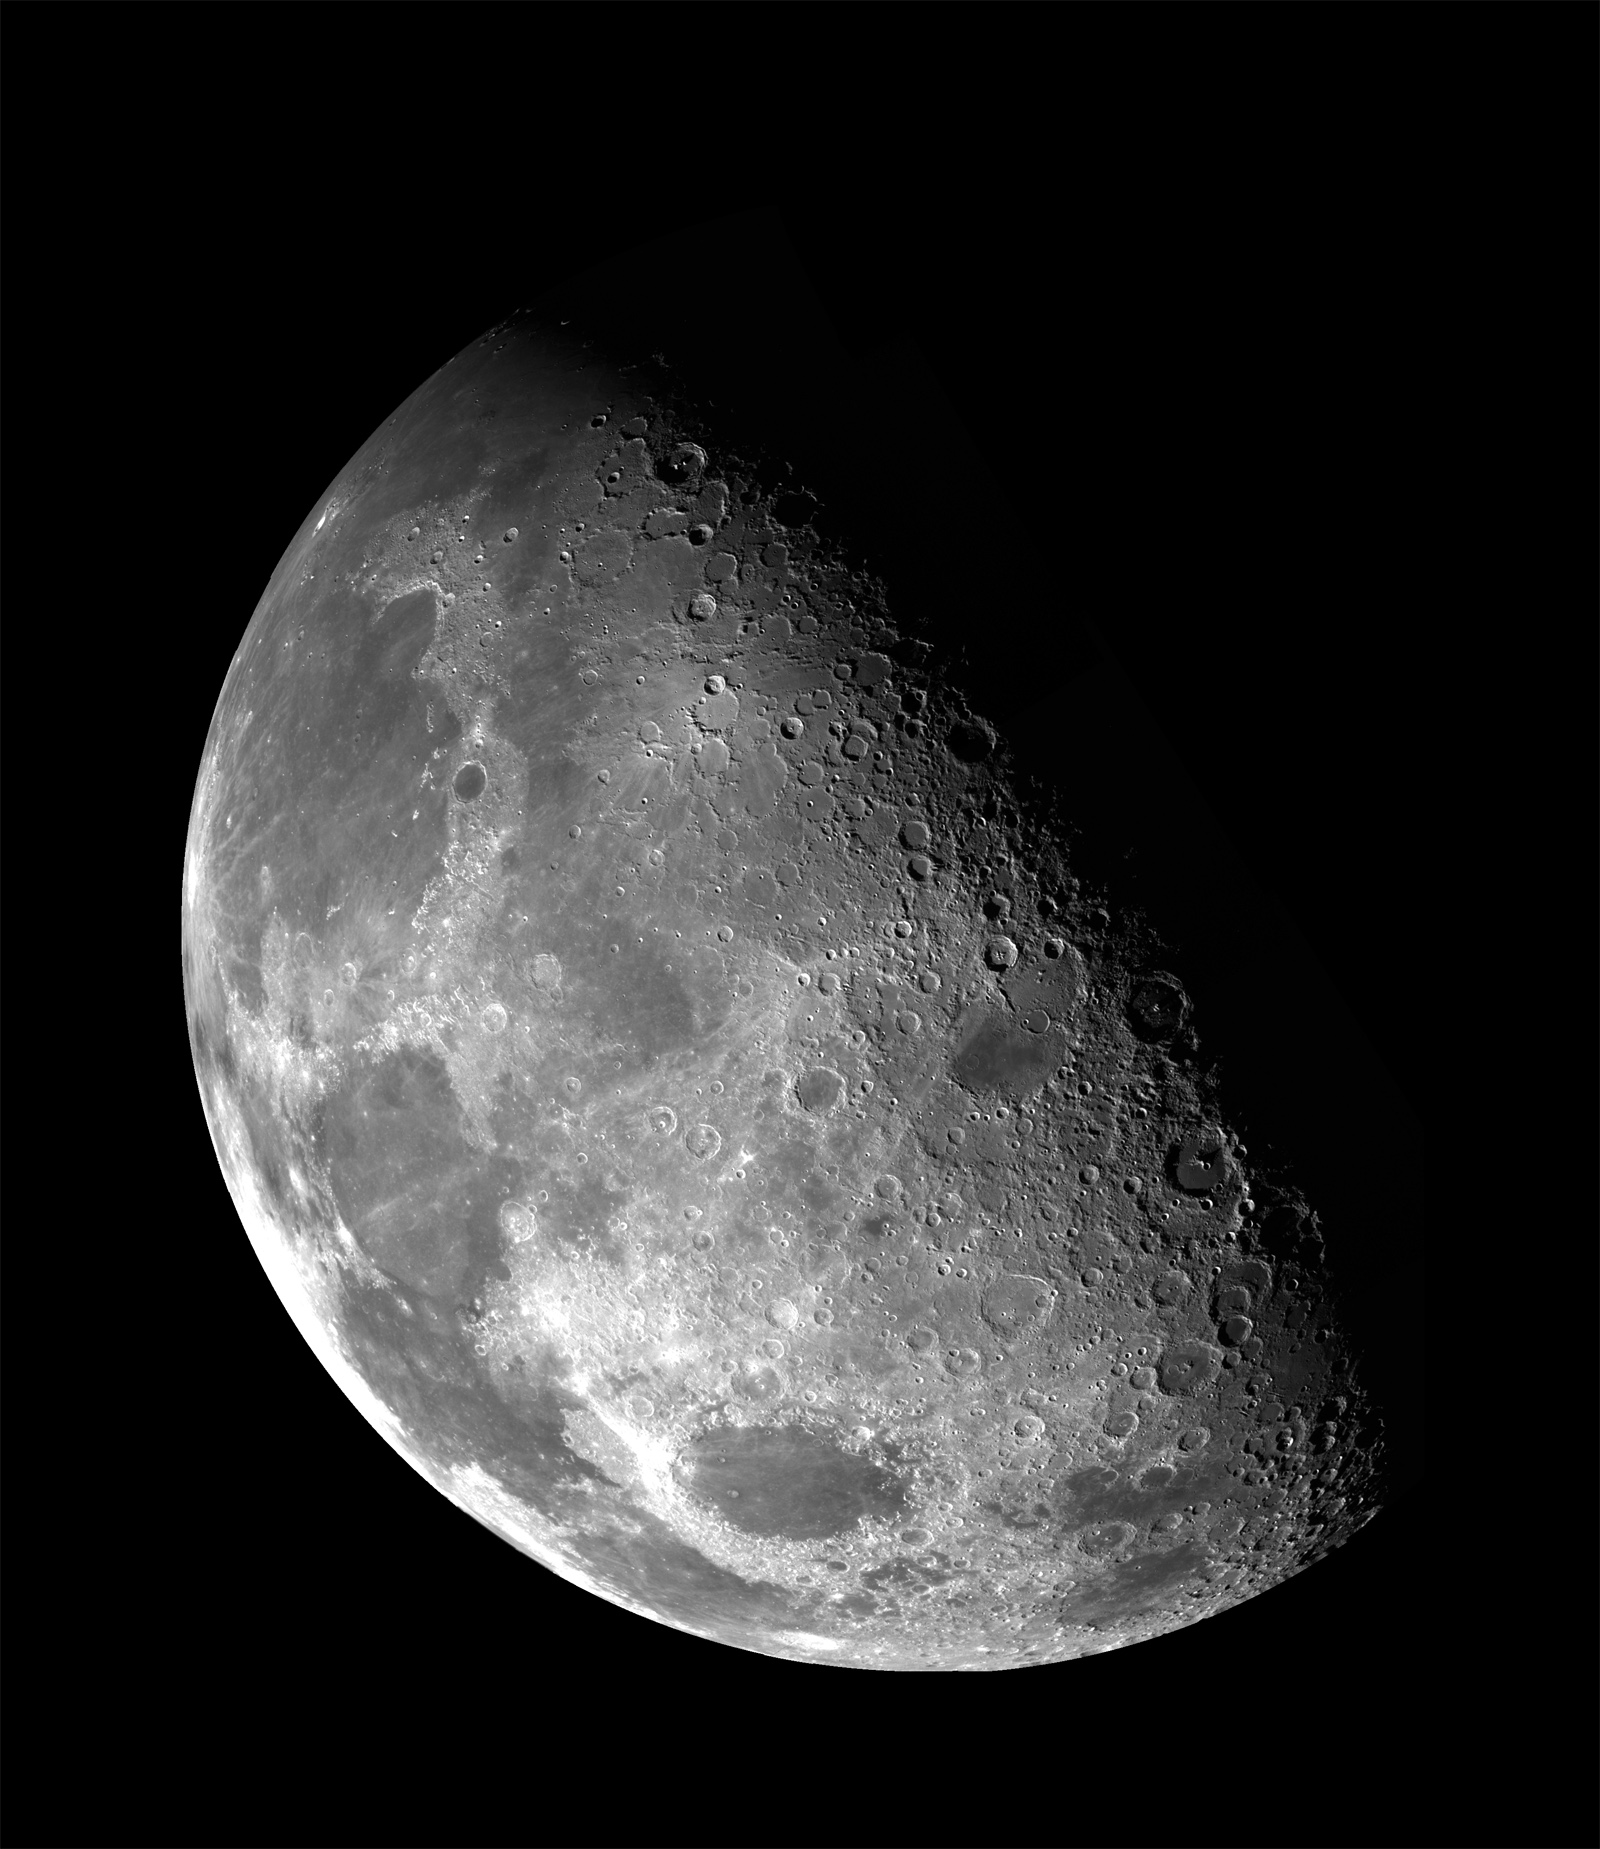
Let's now place a nice moon to our haunted house to make it look even more dramatic. Click here to download the moon used in this tutorial. In the menu click File and choose Open... Choose the moon picture and click Open.
|
|
| |
16.
|
|
|
It's an awesome photo of a moon but we need to get rid of the black around it.
|
|
| |
17.
|
|
|
In the menu click Select and choose Color Range... In the Color Range dialog window click the black color on the photo for selection and click OK.
|
|
| |
18.
|
|
|
We have now black color selected but let's inverse the selection so only the moon will stay selected. In the menu click Select and choose Inverse.
|
|
| |
19.
|
|
|
In the menu click Edit and choose Copy to copy the selected moon.
|
|
| |
20.
|
|
|
Now go back to your haunted house photo (see picture).
|
|
| |
21.
|
|
|
In the menu click Edit and choose Paste. In the menu click Edit choose Free Transform to adjust moon's size and position. Drag it to the upper-right corner and make it smaller. You are advised to hold Shift key while resizing the moon. This way the proportions will stay in tact. When done, press Enter to confirm the changes.
|
|
| |
22.
|
|
|
Save the PSD document as you will need it in the third and final part of the tutorial. Click here for the final part of the tutorial.
|
|
|
 |
|
 |
|
 |
|
|
| |
|
|
|
|
|
|
|
| We also offer Vidalista 80, a high-strength version of generic Cialis. This medication is ideal for men who need a higher dose to achieve and maintain an erection. Like our other generic Cialis products, Vidalista 80 is just as effective as the brand-name version but much more affordable.Vidalista 80 from ProPharmacyStores store. Visit at: https://propharmacystores.com/product/bu.... |
|
|
|
|
|
|
|
|
|
| If you need help writing your assignment and a reliable solution, I highly recommend considering online assignment help services. I had a great experience using Global Assignment Help, which helped me achieve good grades on my assignments. I want to appreciate their work because when I was looking for someone to do my assignment I found nothing but after much research, I found Global assignment help. also, you can read this blog which is about narrative-conventions to know more just click on the link. |
|
|
|
|
|
|
|
|
|
Whether you need help with essays, reports, or presentations, our skilled writers are here to provide you with the academic boost you need. Achieve your online marketing assignment help our reliable and budget-friendly services!
Click Here-: https://www.instantassignmenthelp.com/ma.... |
|
|
|
|
|
|
|
|
|
| Your house looks stunning in the daylight! Keeping a home this beautiful means caring for every detail, inside and out. Speaking of care, clean carpets can make a huge difference in maintaining a fresh and inviting interior. If you're in Visalia, CA, and looking for top-notch carpet cleaning services, it's worth considering professionals who can help restore your carpets' original charm. A clean home is a happy home, after all!Contact Us:- https://ryansprofessionalcleaning.net/ca.... |
|
|
|
|
|
|
|
|
|
| VYUG is a metaverse platform that provides new opportunities like virtual real estate. VYUG enables businesses to integrate virtual reality and other XR solutions into real estate and get scalable and innovative solutions. For more please visit: https://www.vyugmetaverse.com/sectors/vi.... |
|
|
|
|
|
|
|
|
|
| VYUG is emerging as a leading technology company revolutionizing the real estate industry with its cutting-edge VR Real Estate solutions. From immersive architectural visualization to showcasing interior furnishings in real-time, VYUG offers a range of advanced AR features tailored for the real estate and interior design sectors. These innovative VR Real Estate tools not only enhance the way properties are presented but also serve as a powerful resource for designers and developers across the globe. By delivering highly interactive and convenient experiences, VYUG is transforming how buyers and consumers explore and engage with real estate.For more information kindly visit our site : https://www.vyugmetaverse.com/buzz/blogs.... |
|
|
|
|


